

The Domains Screen
On this page: Creating Domains | Viewing Domains | Domain Options (including Filters

To go to the Domains screen, select that tab in the toolbar.
From here, you can:
- Create New Domains
- View Existing Domains. Sort by All domains, those you’ve created, or those that have been shared with you.
- Select a Domain and Edit it, add/edit Filters, view/edit the Domain Configuration, or Delete the Domain.
Creating a New Domain
Why Create Multiple Domains?
It might be helpful to create domains as smaller “pieces” of a larger organization (for example, individual departments) so that scans can be run departmentally instead of having to scan an entire organization every time. Also, users can then create widgets based on departments, compare (or not) various departments, and get an overall snapshot of the entire organization.
How to Create Domains
To create a new domain, use the “Create New Domain” button.
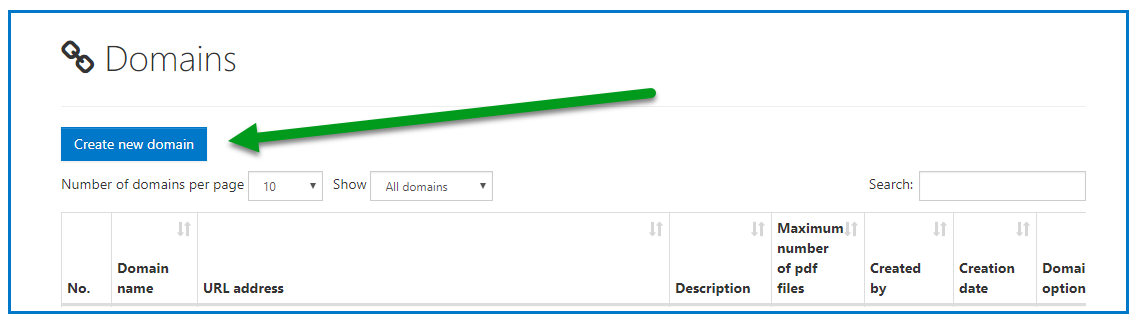
After selecting “Create New Domain,” a form screen will open to input the domain’s information.
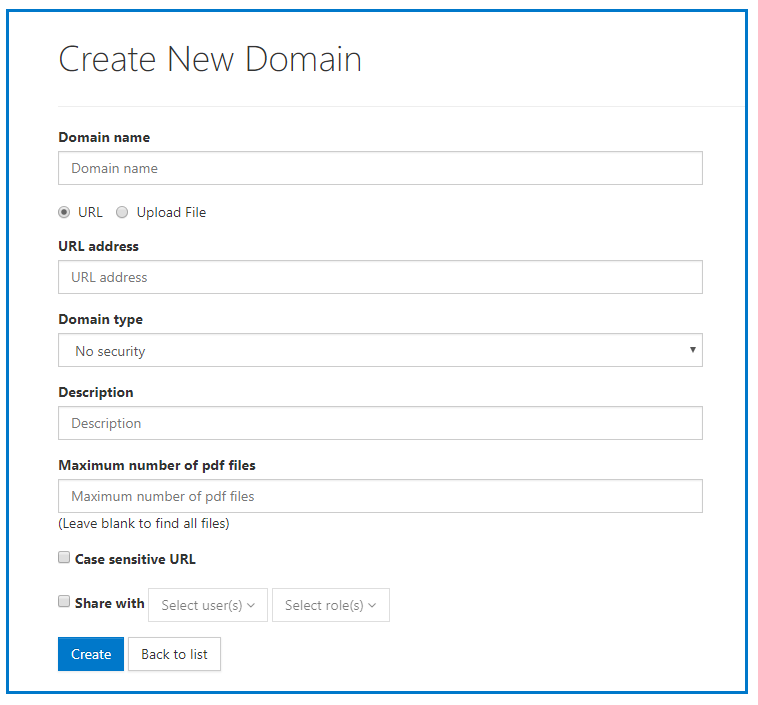
The form will ask for the following information:
- Domain name. Enter a user-friendly name for the domain.
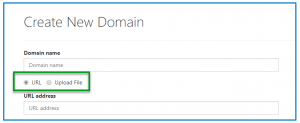
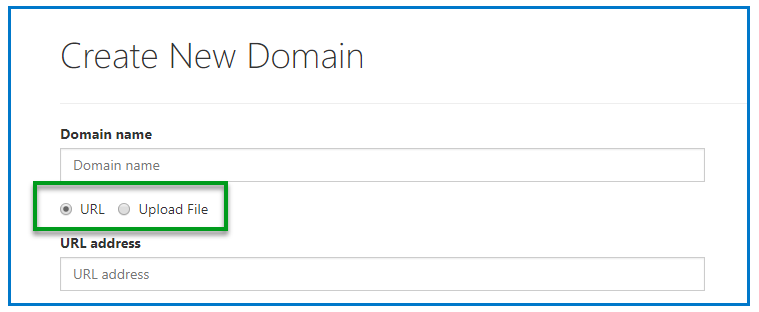
- Choose URL – OR – to Upload a File. You can either scan a domain from a URL or upload a .txt file with URLs to PDFs.
IF Using a URL for the Domain:
- Choose the URL radio button.
- Enter the URL Address. For the most accurate results, copy and paste the URL from a browser address bar.
- Domain Type. If your domain doesn’t require any kind of login, choose “No Security.” If you want to scan a domain that requires login credentials, or is in SharePoint, then choose one of those options. (For additional information about Secure Domains and SharePoint Domains, refer to those sections below.)
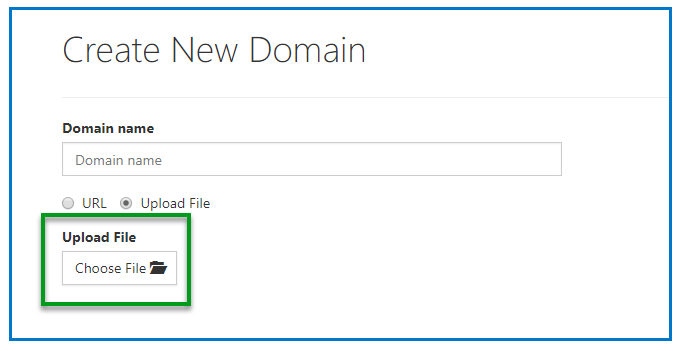
IF Using a .txt file for the Domain:
- Choose the Upload File radio button.
- Select the “Upload File/ Choose File” button
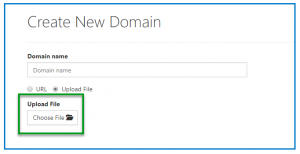
- Navigate to and select the .txt file that contains URLs for the PDFs to scan
Either way, once you’ve entered your URL or uploaded your .txt file…
- Description. (Optional) It may be helpful to assign a short note to your domain.
- Maximum number of PDF files. Use this to limit searches, for example, if you just want a sampling of your site or have limited time to run your scan. (Leaving this blank to “find all files” will make the scans take longer to complete.) Important: “Find all files” may be limited to your purchased scan size. For example, if your organization purchased a 50,000 PDF limit, Clarity will stop the scan after it’s found 50,000 PDFs, even if there are more in your domain.
- Case Sensitive URL. Check this box if the URL’s web server uses a system that treats URLs as case sensitive.
- Share With. (Optional) Select the checkbox to control who you share your domain(s) with. Remember: Domains created by Org. Admins. (or Super Admins.) won’t be available to App. Users unless the domains are shared. User domains can be accessed by all administrators.
- Select Users: Choose individual people in your organization to share your domain with.
- Select Roles: Choose to share your domains with other groups by role. (Roles are discussed in more detail in the User Roles section of this Quick Start Guide.)
- Choose “Create.”
Pro Tip: After creating a Domain, it may be very helpful to add some filters in Domain Options. Refer to the Filter section below for more information.
Creating a Secure Domain
Secure domains apply to http or https domains and to domains created on Network folders that require login credentials.
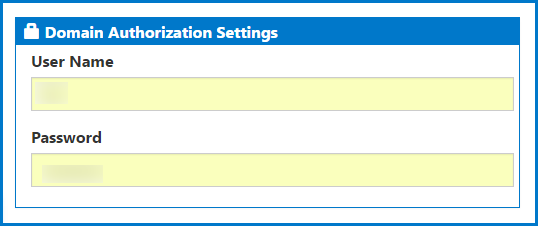
- When creating your domain, in the “Domain Type” field, choose “Secure Domain” if needed.
- The Domain Authorization Settings window will open. Enter the User Name and Password.
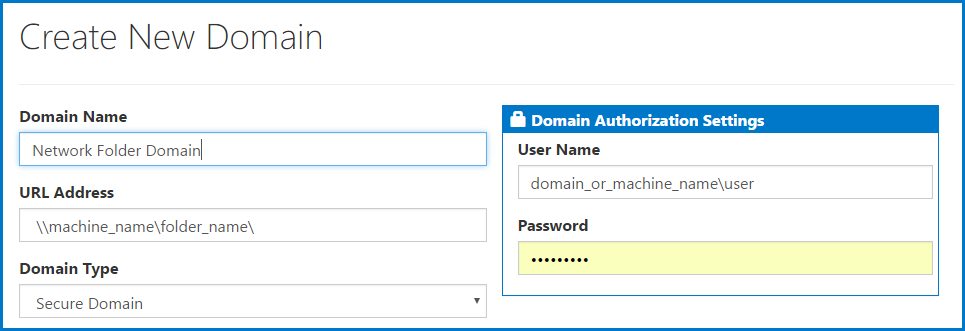
Creating a Network Folder Domain
When creating a new Network Folder Domain, in the URL field, enter the \\machine_name\folder_name\.
The User Name (in the Domain Authorization Settings window) will include the domain (or the machine name) along with the user’s name. (For example: domain_or_machine_name\user)
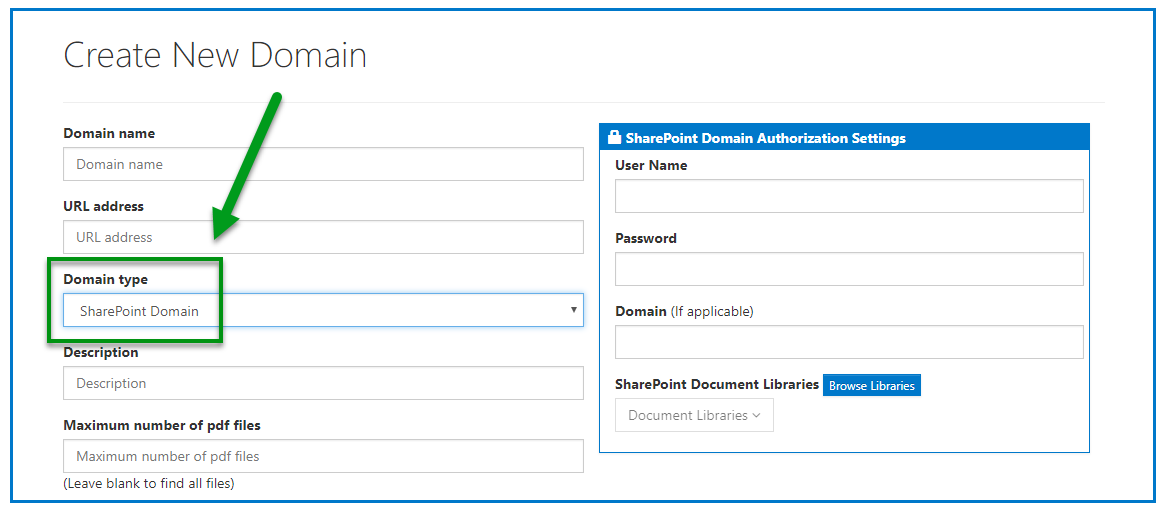
Creating a SharePoint Domain
When creating a domain so that Clarity will scan your SharePoint site, be sure to specify “SharePoint Domain” in the Domain Type.
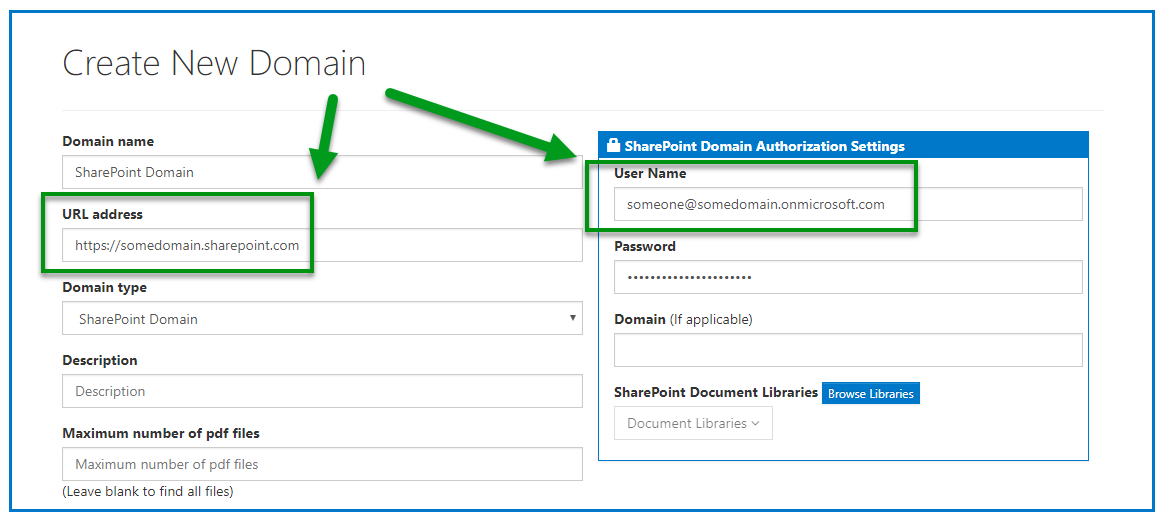
SharePoint Online (Office 365)
When creating a SharePoint Domain for your Office 365 site, pay particular attention to the URL and the User Name.
The URL will be “https://(somedomain).sharepoint.com.” Of course, you’ll replace (somedomain) with your actual domain name. Go to your SharePoint site, find out what your domain name is, and enter it here (or just copy the URL while you’re there and then paste it into Clarity).
The User Name, in the SharePoint Domain Authorization Settings window, is what you use to sign into SharePoint.
The Domain (in the Domain Authorization Settings window) should be left blank.
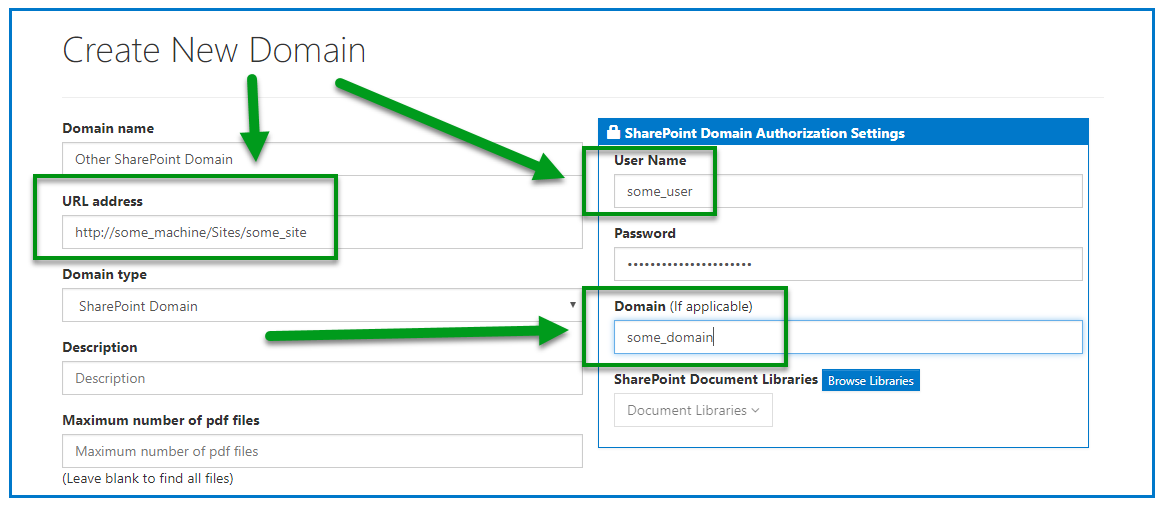
Other SharePoint
Note: This refers to a SharePoint server that has been set up and shared within your Network.
As shown in the screenshot below, the URL will be “http://some_machine/Sites/some_site” where “some machine” and “some site” would be provided to you by an administrator or IT person within your organization.
The User Name will be the user name for the Windows Domain (maintained, for example, by an Active Directory) or, the machine name if the login is an account on a local machine.
The Password, is the password for the Windows Domain, or the machine, as appropriate for the User Name.
The Domain (in the Domain Authorization Settings window) will be the name of the Windows Domain or the machine name (not the name of the Clarity Domain that you’re creating in this process).
SharePoint Document Libraries
When you provide the URL, User Name, Password, and Domain (for “Other” SharePoint sites), the “SharePoint Document Libraries” dropdown menu will auto-populate. Choose which library (or libraries) you’d like to scan.
Viewing Existing Domains
After Domains have been created, they will be listed on the Domains screen. (Keep in mind that, depending on your role, the domains listed may be limited.)
For each Domain listed, in the right column of the table, there are various Domain Options. Those are explained next.
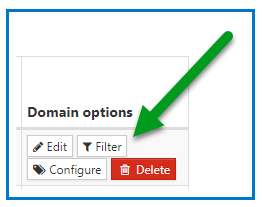
Domain Options
The right-hand column in the Domains table will provide options to edit, filter, configure, and delete a domain. (Tip: Adding Filters can be very helpful. How and why do use filters is explained in more detail below.)
Edit
Change the name or any other parameters that were established when creating the Domain. (Note: The URL cannot be edited here.)
If your domain is an uploaded .txt file, if you choose Edit, you’ll be able to edit the URLs for the PDFs right from this Edit Domain screen. You can also choose to upload a new .txt file if you’d like.
Filter
Filters can (and perhaps should) be applied to Domains, allowing users to include (or exclude) specific pages when running scans and to increase the accuracy in finding PDFs, especially when documents are located on another website that is linked to the original Domain.
Follow these steps to add or edit Filters:
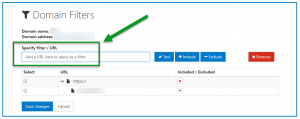
- Select the Filter button in the Domain Options column on the Domains screen.
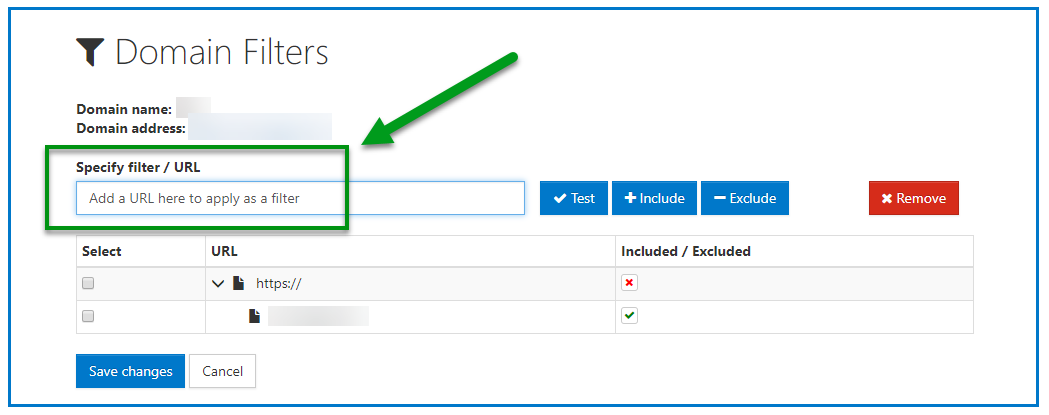
- In the screen that opens, to add a filter, enter the URL you’d like to apply the filter to.
- Use the Test button to verify the URL is usable by Clarity.
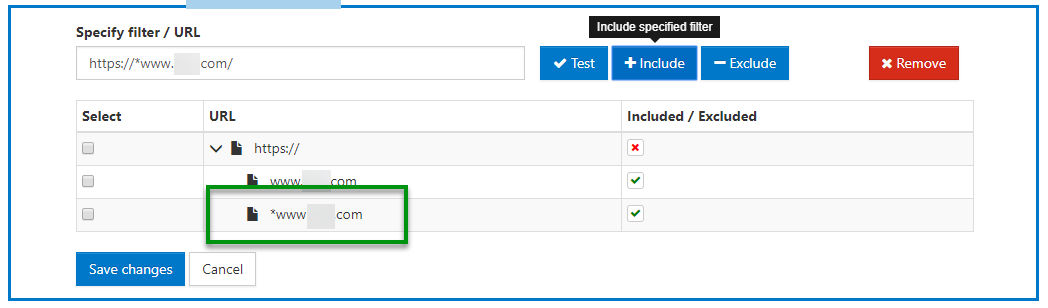
- Choose the Include button to add the URL to the list of those being scanned.
- Use “Exclude” to make Clarity not scan that particular page in the Domain.
- Save your changes.
Helpful Tips Regarding Filters:
- Adding a specific page on the website at the end of the URL root will limit the scan to just that page.
- Remove parts of the URL after .com, .gov, etc. for a broader scan of the website.
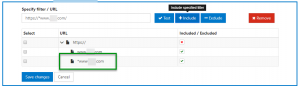
- Add an asterisk (*) before the “www” portion of the URL to expand the search. (For example, if your domain is https://www.website.com/ then add the filter http://*www.website.com. The asterisk means “everything,” so the filter asks Clarity to search everything at “website.com.”)
- If the URL begins with http:// then add a filter with https://… (the rest of the original URL). Conversely, if the URL begins with https:// then add a filter with just http://… (etc.)
- Use the checkboxes to exclude “http” and “https,” otherwise the entire world wide web will be searched! (The red X indicates filters that will be excluded from the scan, the green checkmark shows the filters that will be included.)
- Filters cannot be applied to SharePoint sites; the only type of filtering is to specify which document libraries you choose to scan.
Configure
Use the Configure button in Domain Options to open a Configuration screen. Make the necessary changes and then Save. Note: It’s highly recommended that you simply use the default settings!
Delete
Deletes the Domain.
Next Step:
Run and/or view your Tasks.