On this page: Configuration Settings | Creating a Checkpoint Configuration
Configuration Settings
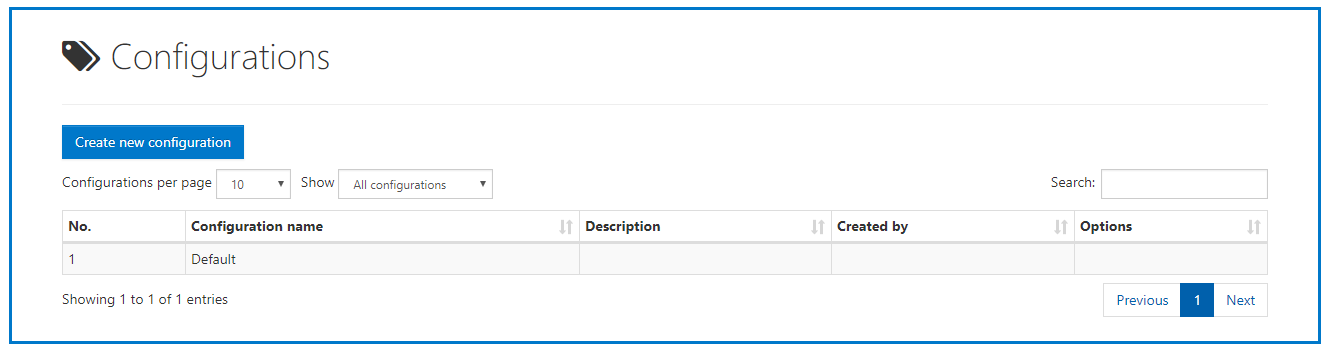
When you navigate to the Configurations screen, a table will be provided showing you the various checkpoint configurations you have set up. (If you haven’t created any custom configurations then you’ll have one named “Default” in the Configuration name column in the table. The other columns in the table are for a Description, Created by, and Options.)
Creating a Checkpoint Configuration
While not recommended, if needed, you can change (or make new) checkpoint configurations for the various standards.
To create a custom configuration, follow these steps:
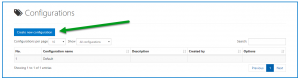
- Select the “Create new configuration” button.
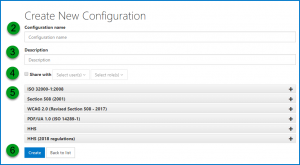
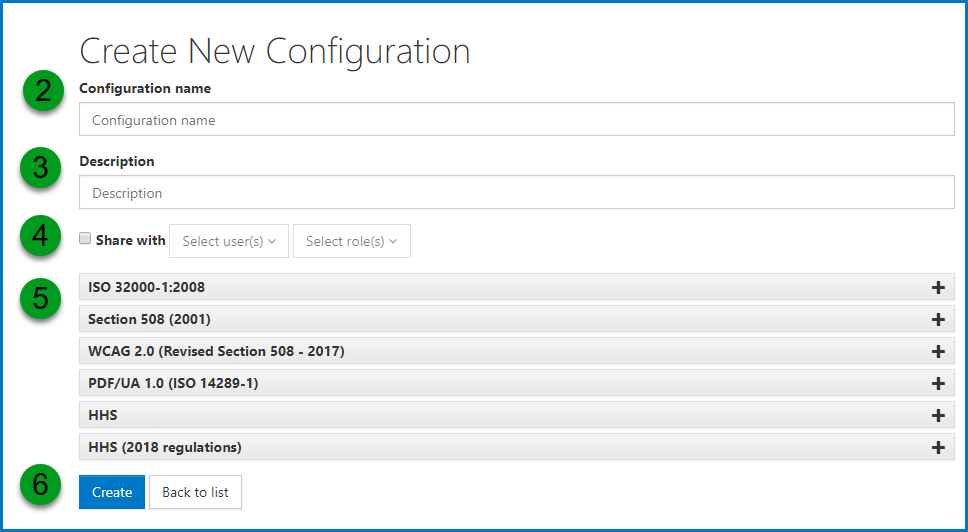
- Provide a Configuration name,
- Enter a Description if needed,
- Decide users/roles to share your configuration with.
- Your new configuration will be based on existing standards. In this step, select your standard(s), open them, open up the individual checkpoints within the standard, and choose “enable” or “disable” as needed (to turn them on or off). (Some checkpoints will require additional information in addition to “enable” or “disable.”)
- “Create” your configuration.