

Clarity Reports
Reports on this page: Overall Compliance | Domain Pass/Fail | Domain Discovered PDFs | Domain Compliance | File Compliance | Additional Reports

After setting up your domains and running your scans, CommonLook Clarity can generate a wide variety of reports ranging from a very broad overview of your organization’s compliance status to reports that are document specific and very detailed. We’ll focus on four very helpful reports below: Overall Compliance, Domain Pass/Fail, Domain Discovered PDFs, and File Compliance.
To begin, select the Reports tab on the toolbar and then, from the dropdown menu, select the report you’d like to create/ view.
In addition, every report can be saved by choosing the Save button near its top right corner. Reports are saved as HTML files.
Overall Compliance Report
How to Create an Overall Compliance Report:
To generate the report, follow these steps:
- From the Reports tab on the toolbar, choose Overall Compliance.
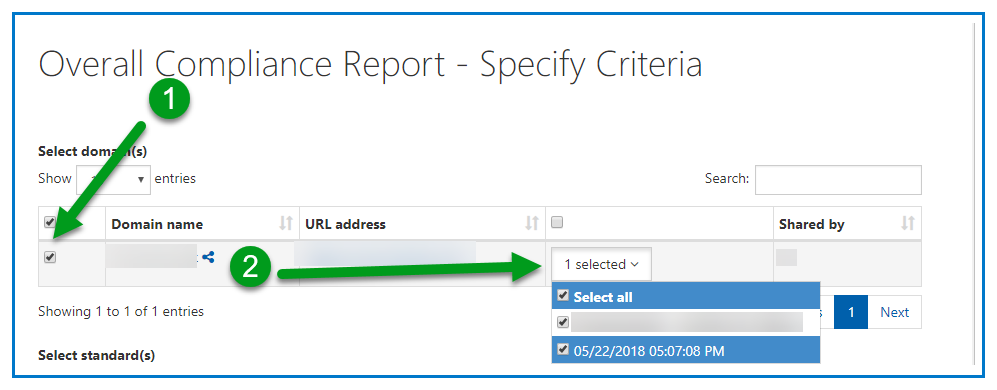
- Select the Domain(s) to include in your report.
- From the dropdown menu to the right of where you selected your Domain, select the Task(s) you’d like included in your report. The screenshot below shows the Domain selected and the Task menu open to select various Task runs.

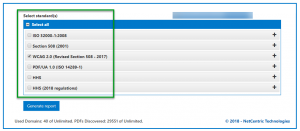
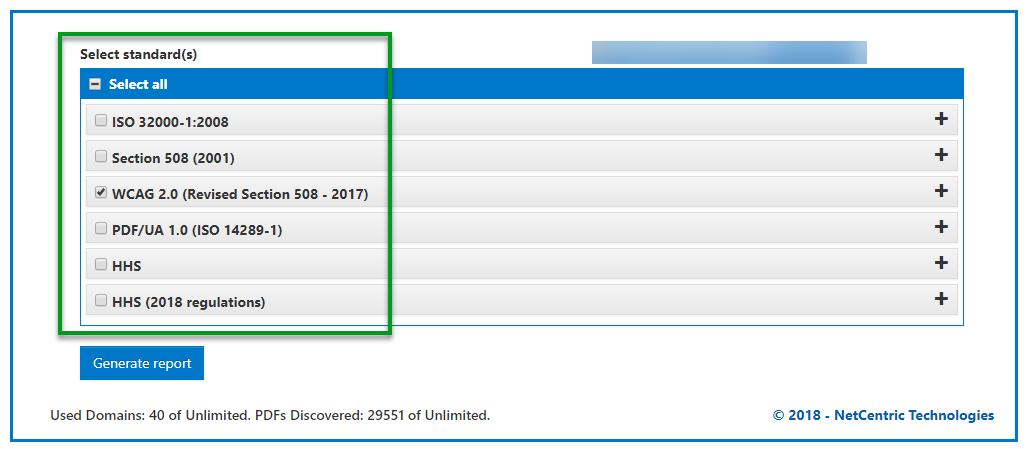
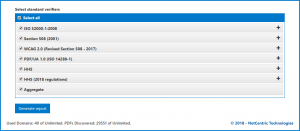
- Select the Standards that you’d like to report on. Check the checkbox to Select All or uncheck it and then choose individual standards as needed.
Note: While it is possible to open standards and guidelines to further refine your reporting, it’s recommended that you leave these reporting options in their default settings.
- When done selecting your options, Choose “Generate Report.”
What the Overall Compliance Report Tells You:
After generating an Overall Compliance Report, it will tell you the Domain’s Name and Address (URL) as well as the list of standards that were selected when generating the report.
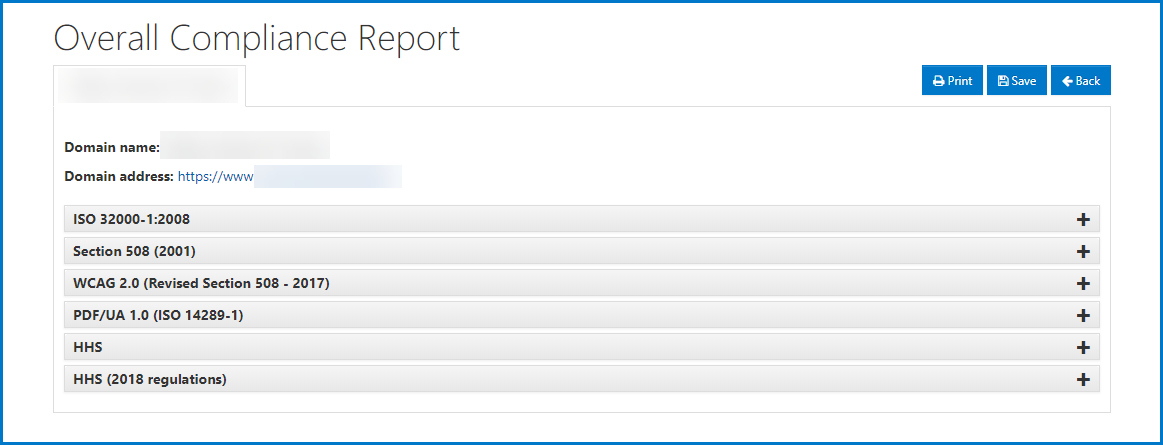
Select a standard to expand it.
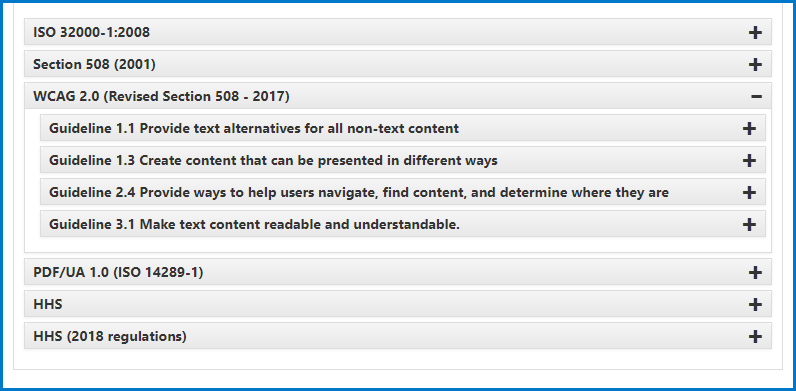
When the standard is expanded, any checkpoints (or guidelines) that have been failed will be listed. In the screenshot above, WCAG 2.0 is expanded and failures are shown for Guidelines 1.1, 1.3, 2.4, and 3.1.
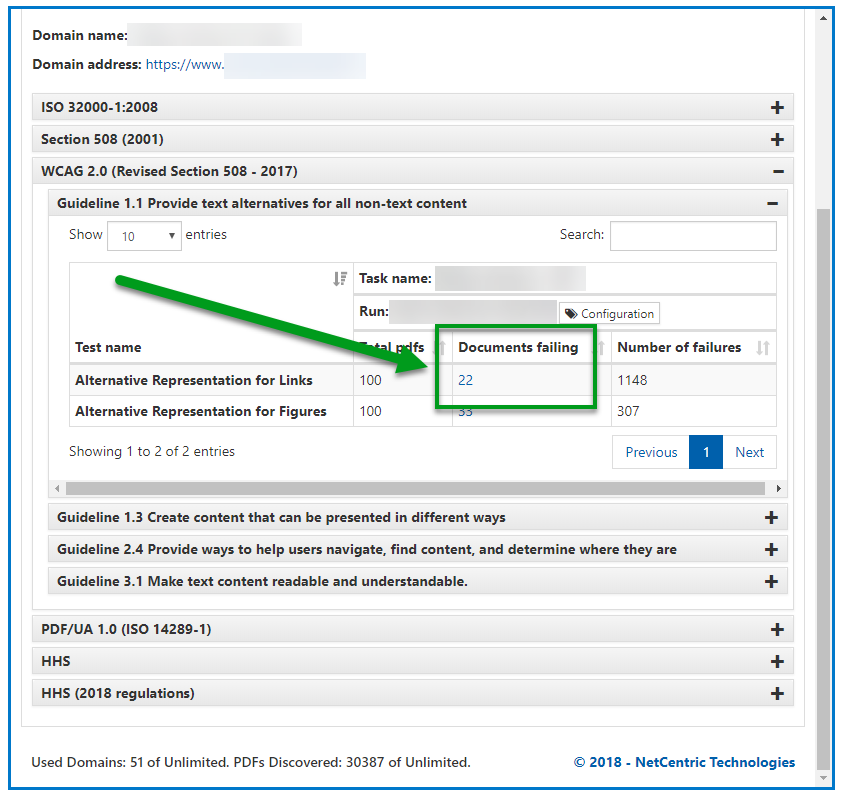
Choose a checkpoint (guideline) to open it for more detailed information. A table will open providing the total number of tested PDFs in the scan, the number of documents that failed the particular checkpoint, and the total number of times each checkpoint failed. For example, in the screenshot below, the WCAG 2.0 standard is expanded, Guideline 1.1 “Provide text alternatives for all non-text content” is also open, and the data reveals that there were 22 documents with Links lacking Alternative Text and, in those documents, there were a total of 1,148 Link tags without Alt. Text. In addition, there were 33 documents that had Figure tags missing Alt. Text and a total of 307 Figure tags that failed this checkpoint.

With the standards and guidelines expanded, under the column listing the number of documents that failed a particular checkpoint, select the number to go to another “checkpoint specific” report (described below the following screenshot).
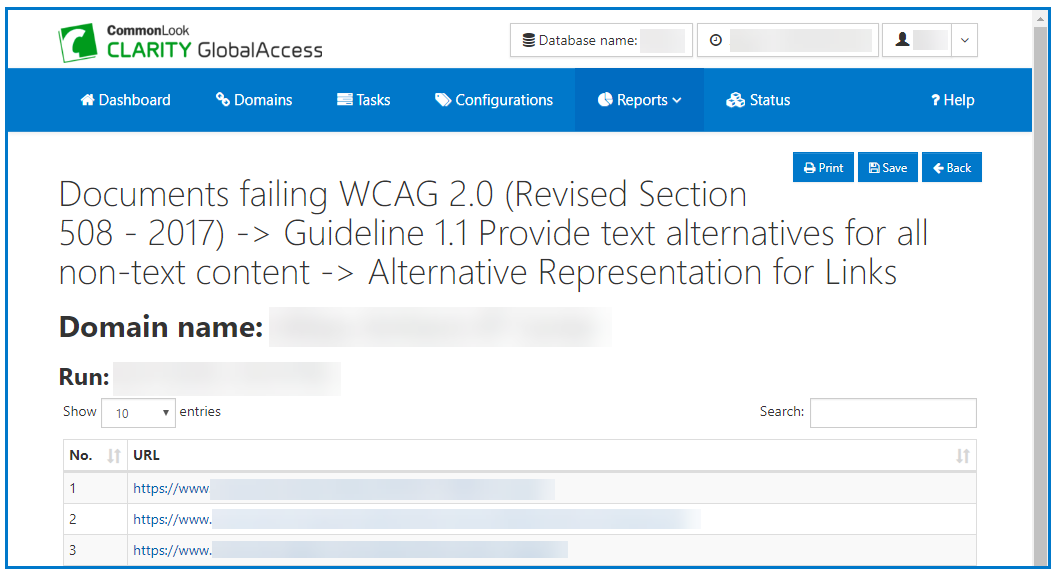
This “checkpoint specific” report lists, by URL, the documents that failed the particular checkpoint. In this second report, follow a linked URL to go to that PDF’s File Compliance Report. (File Compliance Reports are explained in greater detail in a later section of this guide.)
Domain Pass/Fail Report
How to Create a Domain Pass/Fail Report:
To generate the report, follow these steps:
- From the Reports tab on the toolbar, choose Domain Pass/Fail.
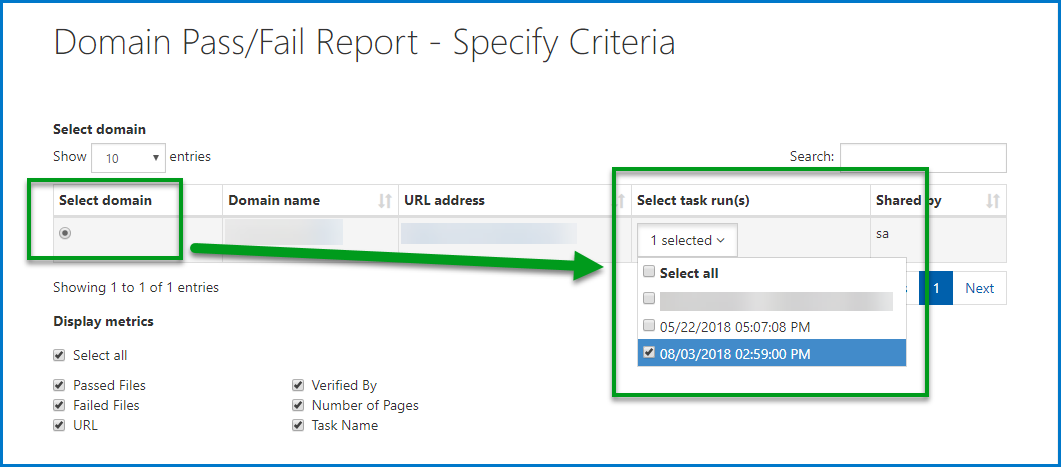
- On the “Specify Criteria” screen, select the Domain(s) and then, from the Tasks drop-down menu, choose the Task(s) to be included in your report.
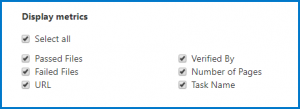
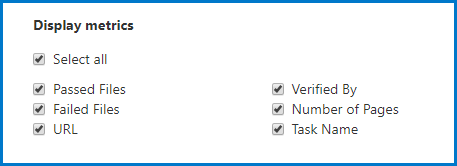
- Check or uncheck the Display Metrics boxes as needed. (Choose from all, Passed Files, Failed Files, their URL, what they were Verified By, their Number of Pages, and/or the Task Name.)
- Select (or deselect) the Standards to customize your report. Note: While it is possible to open standards and guidelines to further refine your reporting, it’s recommended that you leave these reporting options in their default settings. Options for reporting include: ISO 32000-1:2008, Section 508 (2001 – the “Original” 508), WCAG 2.0 (the “Revised” Section 508 as of 2017), PDF/UA (ISO 14289-1), HHS (the US Department of Health and Human Services), the Revised HHS standard (as of 2018), and an Aggregate report.
- When done setting the criteria, choose the Generate Report button.

What the Domain Pass/Fail Report Tells You:
The Domain Pass/Fail Report provides specific information about the tagged PDFs in the Domain.
After the report has been generated (following the steps in the previous section of this guide), at the top of the report will be the Domain’s Name and Address (URL). Below this information, there will be a table with one tab at the top for each Standard Verifier that was selected in step 4 of creating the report.
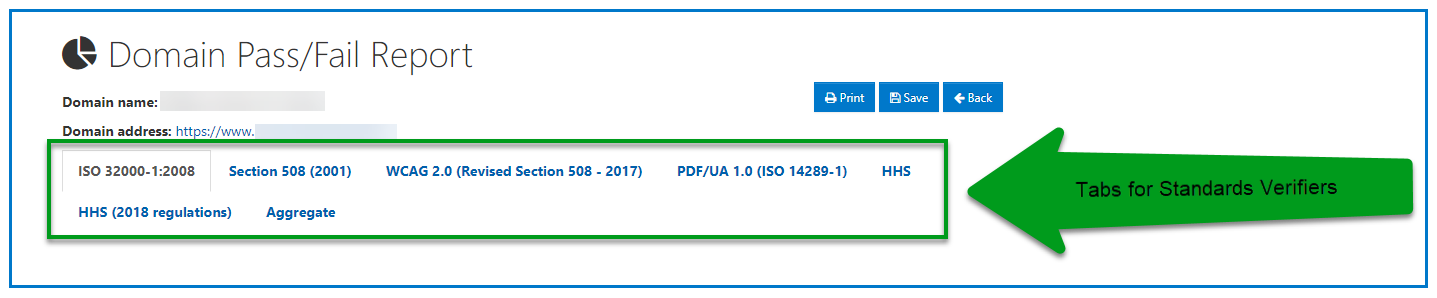
Select the tab for a particular standard to reveal a table displaying the Task Name(s), Run(s) and the number of Tagged, Passed, and Failed Files.
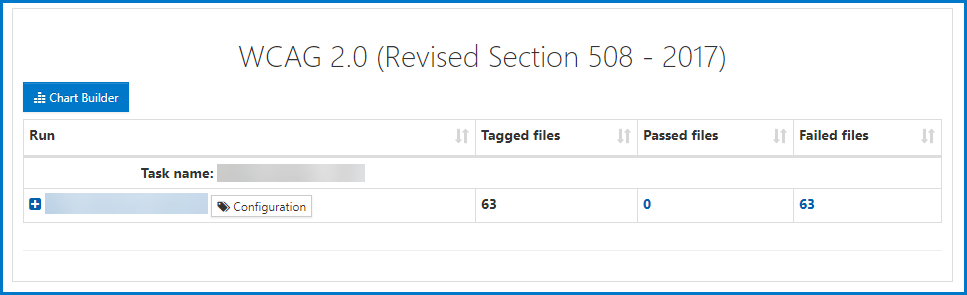
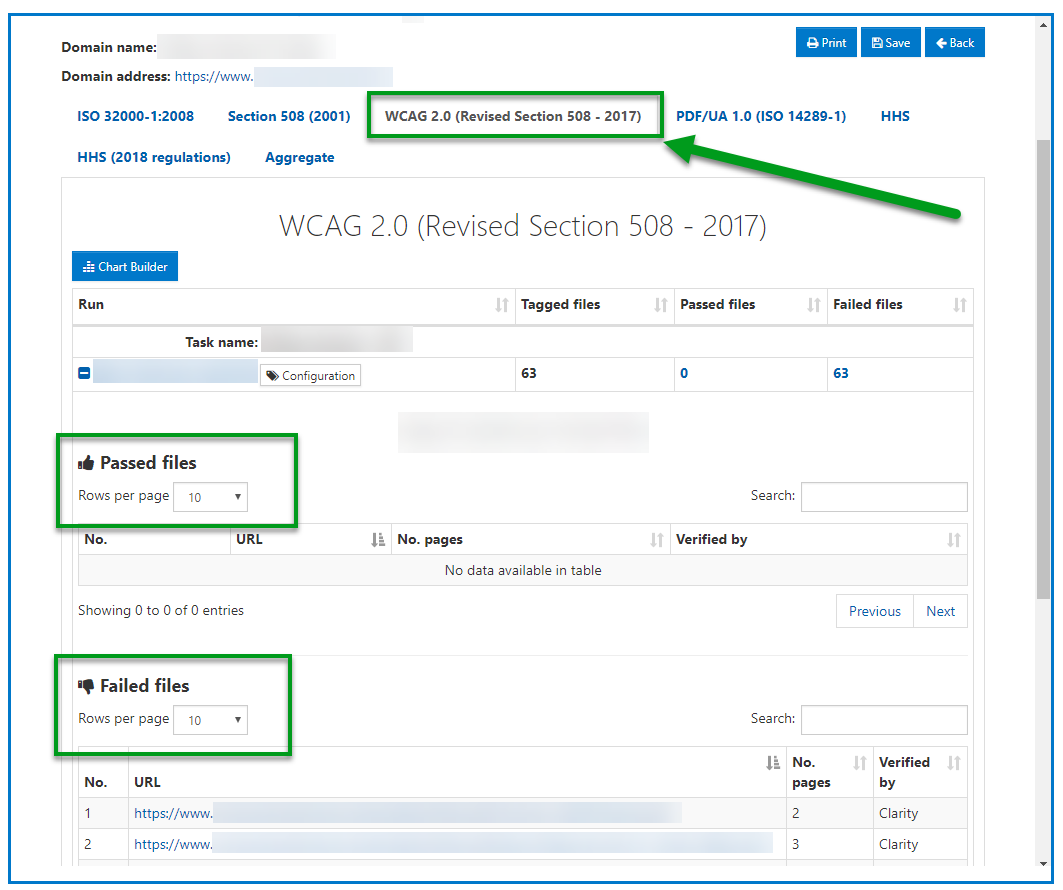
Choose a Task Run to open the table further, and view additional Display Metric data. This additional data will be sorted separately by files that have passed and those that have failed. The screenshot below shows the WCAG 2.0 tab has been selected, a Run’s data is expanded, and there is a report section showing the files that have passed (none) and a separate section showing data for those files that have failed (two in this screenshot).
Additional Features:
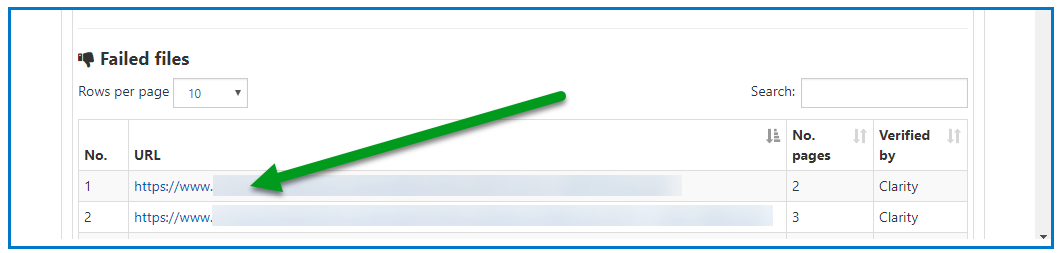
- In the expanded tables sorted by passing and failing documents, selecting the URL for a PDF will take you to that document’s File Compliance Report (discussed in more detail later).

- Below the table, use the button to “Generate a Pie Chart” displaying this report’s data in that format.
Domain Discovered PDFs Report
How to Create a Domain Discovered PDF Report:
To generate the report, follow these steps:
- From the Reports tab on the toolbar, choose Domain Discovered PDFs.
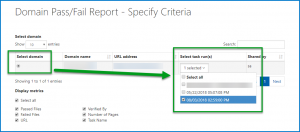
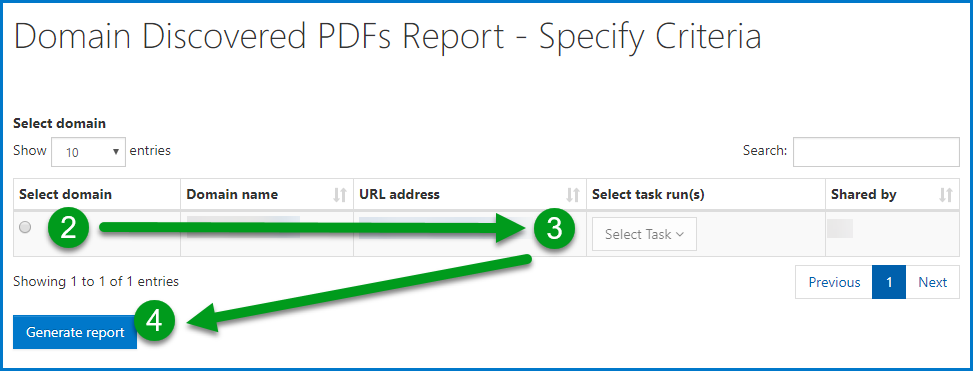
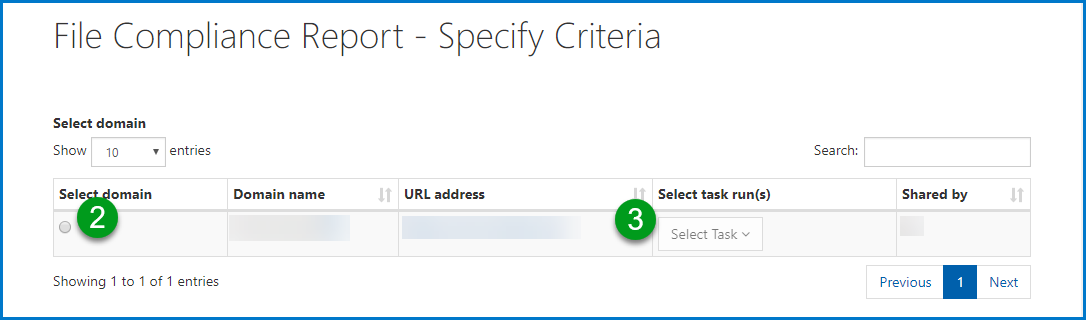
- On the “Specify Criteria” screen, select the Domain(s) to be included in your report. (Number 2 in the screenshot after this list.)
- From the Tasks drop-down menu, choose the Task(s) to be included in your report. (Number 3 in the screenshot after this list.)
- Choose Generate Report. (Number 4 in the screenshot after this list).
What the Domain Discovered PDF Report Tells You:
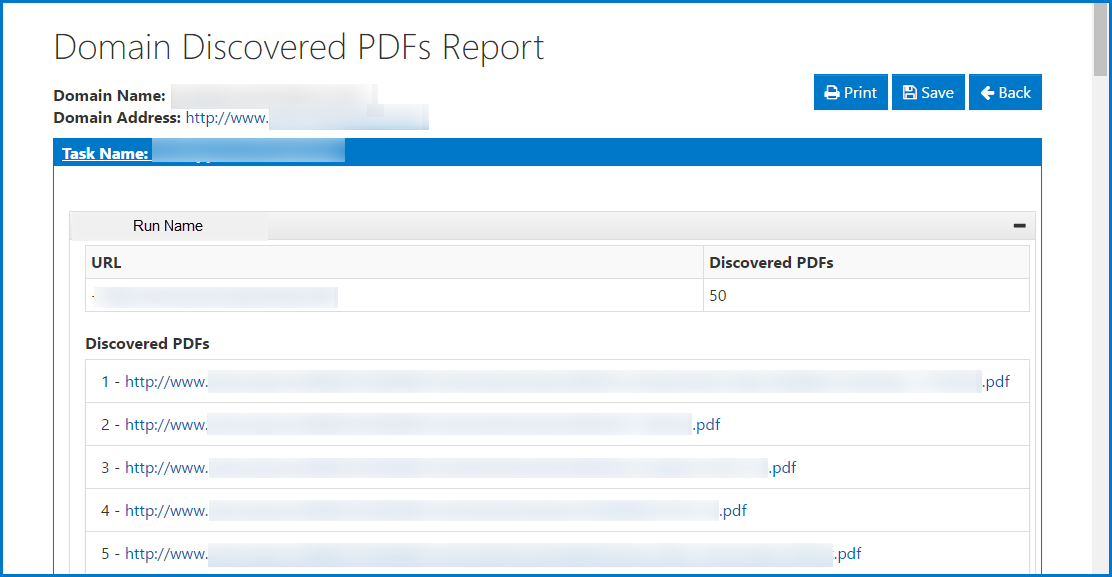
When generated, the Domain’s Name and Address (URL) will be displayed at the top.
Below the name and URL for the Domain, there will be a table with the Task Name and Run(s). Under each Run, the number of Discovered PDFs will be displayed along with the URL for each document. Select a PDF’s URL to view it.
Domain Compliance Report
How to Create a Domain Compliance Report:
To generate the report, follow these steps:
- From the Reports tab on the toolbar, choose Domain Compliance.
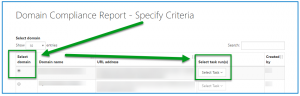
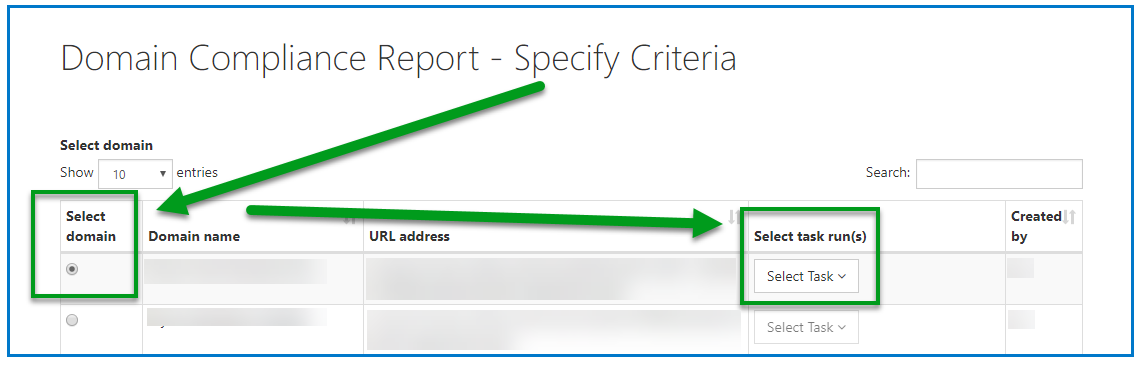
- On the Specify Criteria screen, select the Domain and then the Task (or Tasks) you’d like in the report.
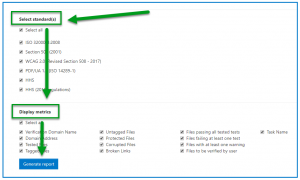
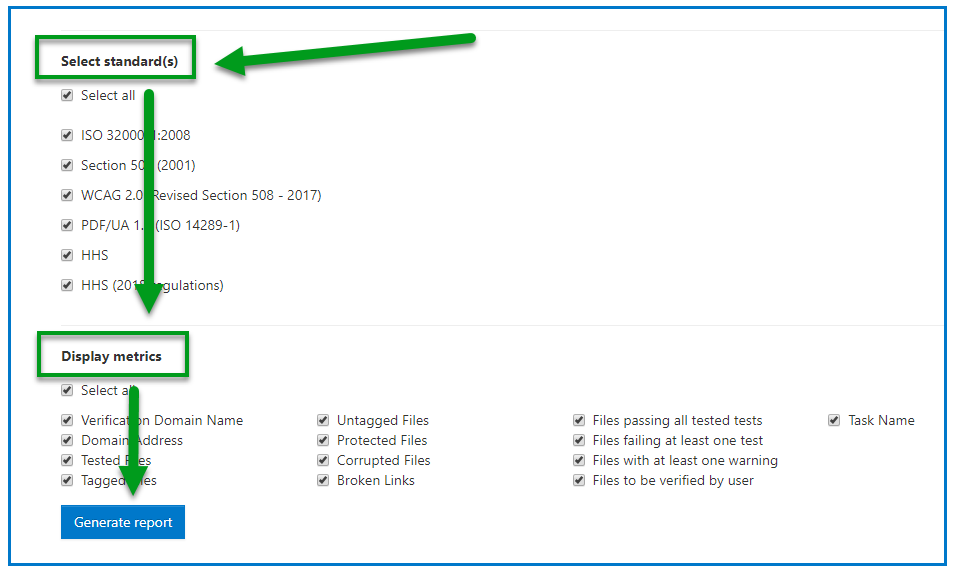
- Choose the Standard(s) you’d like included in the Report.
- Choose the Display Metrics you’d like included in the Report.
- Select “Generate Report.”
What the Domain Compliance Report Tells You:
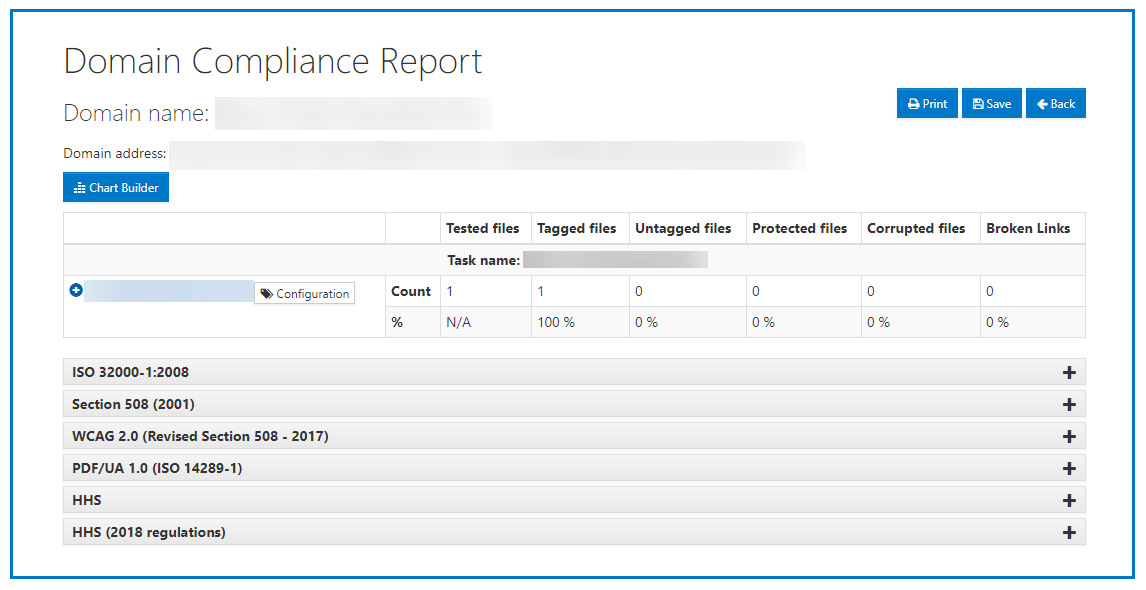
- At the top, the Domain Name and the Address will be provided.
- A table will indicate, by row, the Task Run and then there’ll be columns for the number of tested files, and how many PDFs were tagged, untagged, protected, corrupted, and how many broken links were found. (These columns may vary depending on the Display metrics chosen before generating the report.)
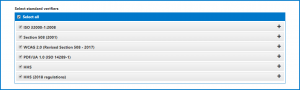
- Below the table, there will be a list of standards that were selected before generating the report. Navigate to the standards and expand their menu to reveal specific data indicating how the domain checks out against a particular standard. An example is provided in more detail below.
The screenshot below shows the specific results for a particular domain as tested against WCAG 2.0AA. In the table provided for each standard, the row header at the left will indicate the Task run. Then, the columns in the table indicate the count and the percentage of the number of files passing all selected (tested) tests, files failing at least one test, files with at least one warning, and files to be verified by user.
Pro Tip: The numbers greater than zero (0) in the “Count” row under each column are links. Follow those links to an additional report. For example, in the screenshot below, there’s one file in the “Warning” column. Following that link will take you to a report listing all of the documents in the domain (in this case, one) that have only Warnings.

File Compliance Report
How to Create a File Compliance Report:
To generate the report, follow these steps:
- From the Reports tab on the toolbar, choose File Compliance.
- Select the Domain(s) to include in your report (number 2 in the screenshot after the next step).
- From the drop-down menu to the right of the domain you selected, choose the Task(s) you’d like included in your report (number 3 in the screenshot below).

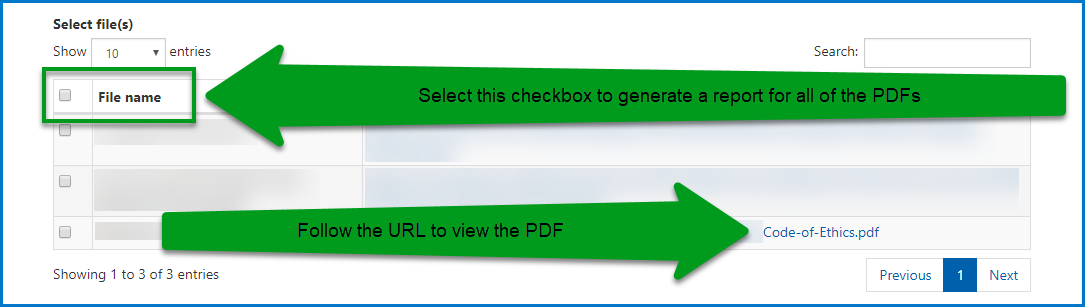
- Depending on the Task(s) selected, a table will open listing the PDFs that you can get a report for. Choose the file(s) that you’d like to see in the report.
- Tip 1: Use the checkbox next to File Name at the top of the table to choose them all.
- Tip 2: On the right side of the table, the PDF’s URL will be displayed. Select the URL to open the document.

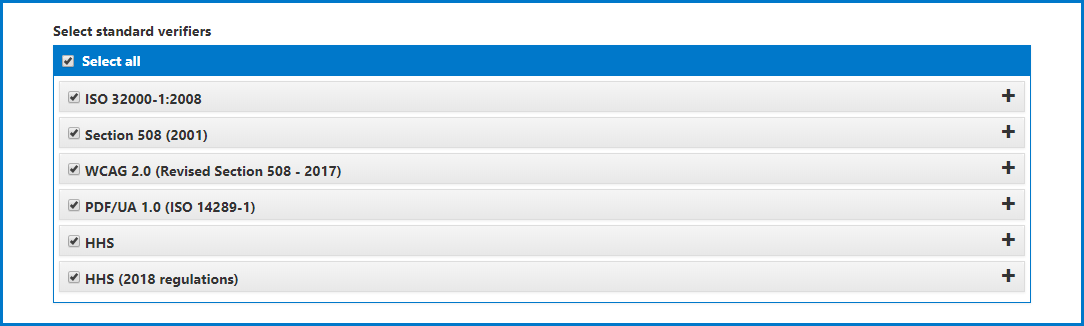
- Select (or deselect) the Standards to customize your report. Note: While it is possible to open standards and guidelines to further refine your reporting, it’s recommended that you leave these reporting options in their default settings. Options for reporting include: ISO 32000-1:2008, Section 508 (2001 – the “Original” 508), WCAG 2.0 (the “Revised” Section 508 as of 2017), PDF/UA (ISO 14289-1), HHS (the US Department of Health and Human Services), and the Revised HHS standard (as of 2018).
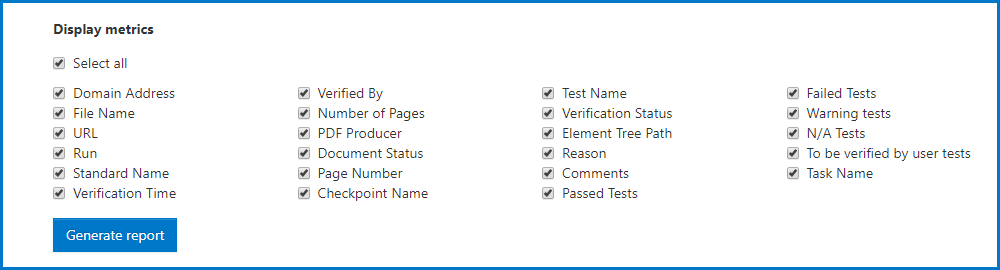
- Check or uncheck the Display Metrics boxes as needed.

- Select the Generate Report button.
What the File Compliance Report Tells You:
If, when specifying the report criteria, you chose multiple files to report on, when you open the File Compliance Report, each document chosen will have a tab at the top of the report. Select a tab to view details about that particular document’s compliance.
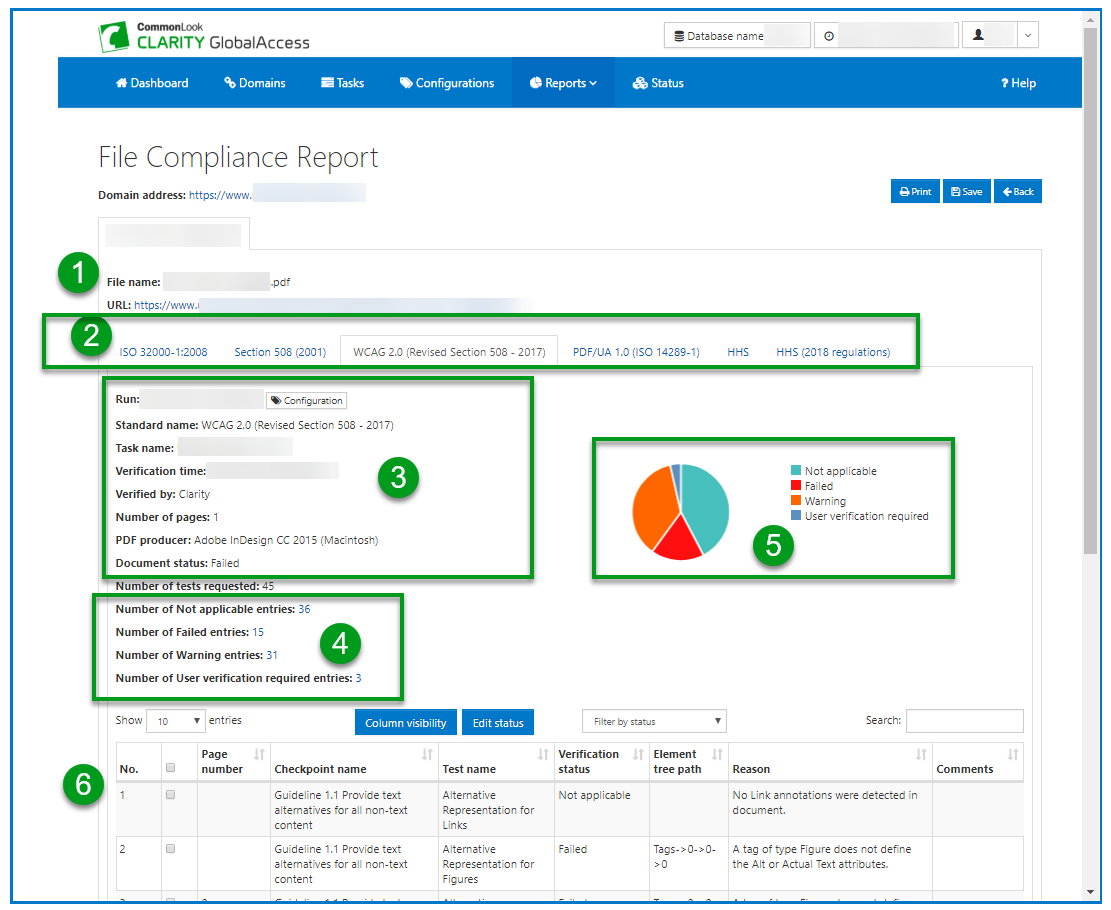
The File Compliance Report provides a wealth of information about each document and can be sorted in a variety of ways. Feel free to explore it more fully on your own! Some of the more noteworthy items in the report are listed below. (Note: the list numbers correspond to the numbers in the screenshot below the list.)
- The PDF’s File Name and URL.
- Below the file name and the URL, there will be one tab for each standard chosen when specifying the report criteria.
- Run data and the Display Metrics that were selected when setting up the report criteria will be listed.
- The number of entries for Passed, Failed, Warning, and User verification items are displayed (if selected when choosing the criteria for your report). Selecting the number shown for one of these entries will cause the table below to be sorted, showing only the data as it pertains to the entry that you selected.
- A pie chart giving a quick graphical representation of the Passed, Failed, Warning, and Not Applicable checkpoint data is provided.
- Below the list of Display Metrics, a table gives specific checkpoint-by-checkpoint, page-by-page, or status-by-status data. Explore the table – it can be sorted and/or displayed in a variety of ways!
Additional Features – Editing Checkpoint Status:
In addition to showing very comprehensive data for a particular document, it’s possible to edit checkpoint status results. Consider this scenario: While Figure tags that don’t have alternative text will be marked as failing, if Figure tags do have alternative text, the status of those Figure tags will be “User Verification Required.” This is because CommonLook wants you to make sure that the alternative text provided for images is accurate. If you open the PDF, check the alternative text for the images, and determine that the alt. text is correct, you can change the checkpoint status in Clarity so that it’s reported as passing instead of needing verification. (Similarly, if the alt. text isn’t ok, the status can be changed to “Failed.”) This is a valuable feature for testing, reporting, and so that document remediators know more accurately the issues that need to be addressed in particular documents. In addition, because Clarity will store this verification data for comparisons with future scans, this can help maintain more accurate information regarding the accessibility of your organization’s PDF holdings, even as those holdings change over time.
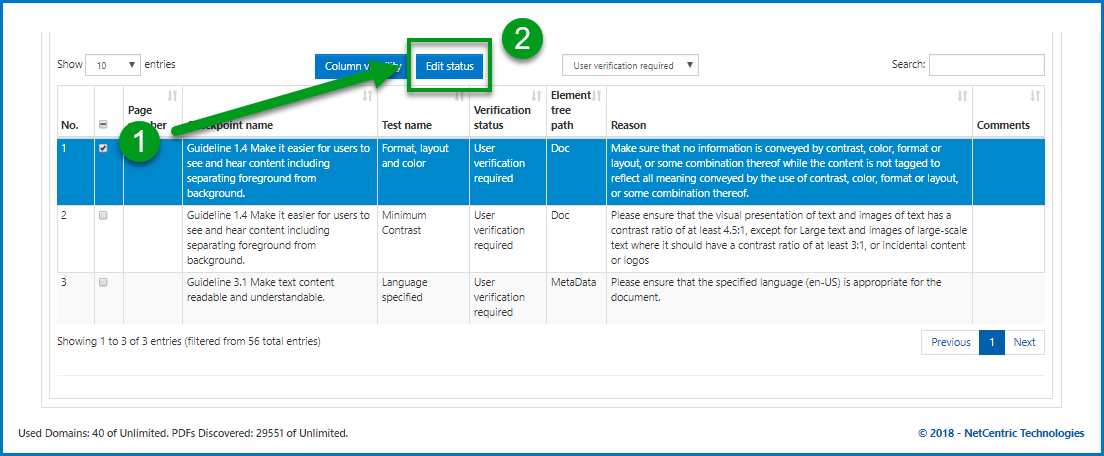
To edit a status:
- In the table, check the checkbox for an item whose status you’d like to change (#1 in the screenshot below).
- Use the “Edit Status” button (#2 in the screenshot below).
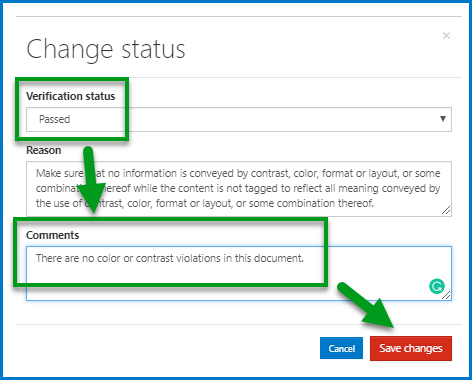
- In the Change Status screen that opens:
- Use the Verification Status drop-down menu (at the top) to change the status.
- Enter a Reason for the change in the Comments field.
- Select “Save Changes.”
Additional Reports
On this page we’ve listed and described some of the more commonly used reports. There are, however, other reports that CommonLook Clarity can generate. Feel free to experiment with these reports and check out what you get!
The reports are:
- PDF Producers Report – lists the application that was used to create the PDFs in the domain.
- Sources and Verification Tools – Indicates the PDF source (MS Word, MS Excel, MS PowerPoint, or Other) and the software that was used to verify their compliance (CommonLook PDF, CommonLook Office, CommonLook Clarity, CommonLook Dynamic, Adobe Acrobat, or Other.)
- Advanced Overall Compliance Report – A very powerful and potentially very detailed report allowing you to filter results for a domain (or domains) by a wide selection of criteria.