

The Tasks Screen
On this page: Creating Tasks | Task Options
Use the Tasks button in the toolbar to go to the Tasks screen.

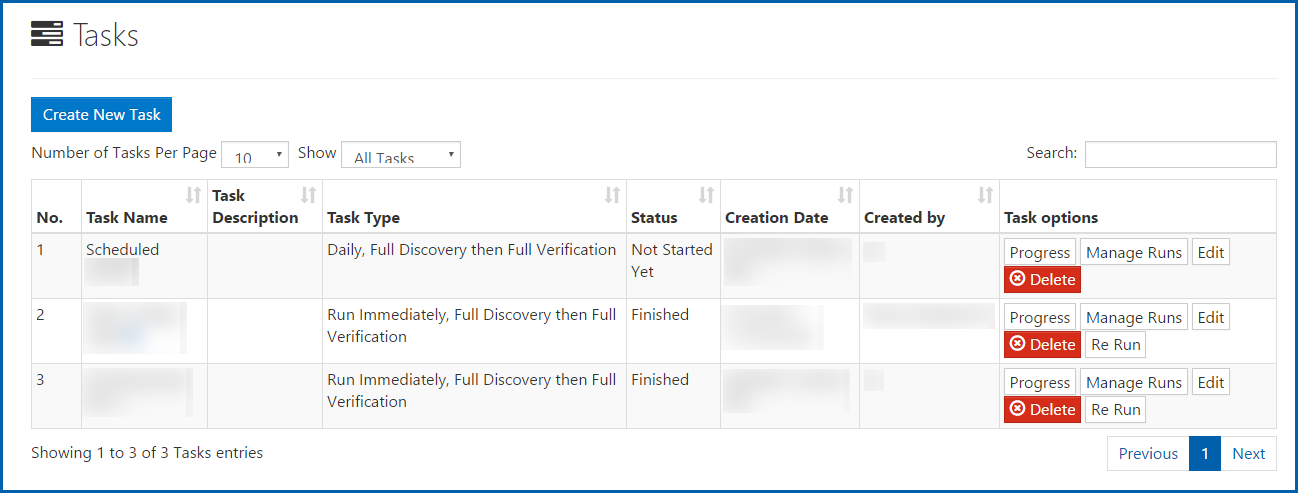
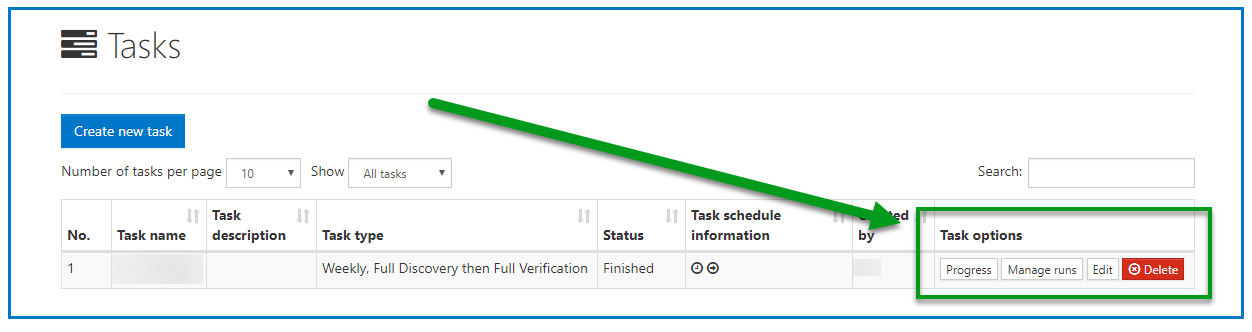
After Tasks have been created, a table listing the Tasks, along with their Name, Description (if given), Type, Status, and Creator’s Name and creation Date, will be displayed. In addition, on the right side of the table, Task Options are provided to check each task’s Progress, Manage its Runs, and Edit or Delete it.
Creating New Tasks
If you need to create a task, follow these steps:
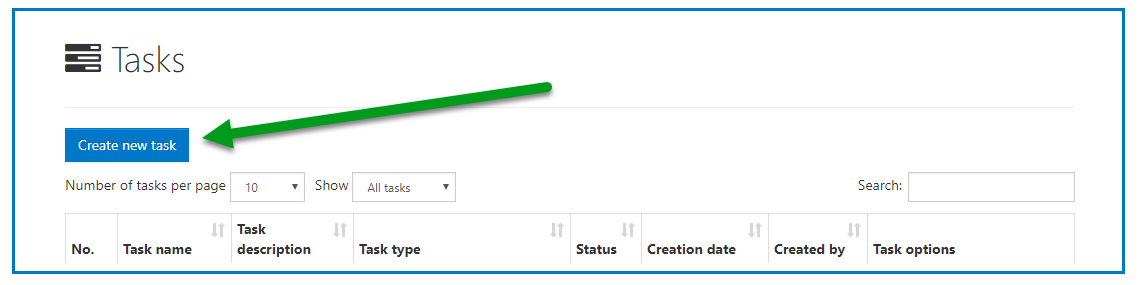
- Select the “Create New Task” button.
- Fill out the form fields as needed. (The various form fields are explained in more detail below.)
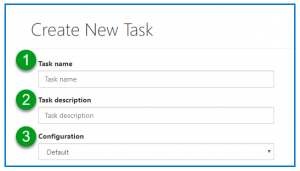
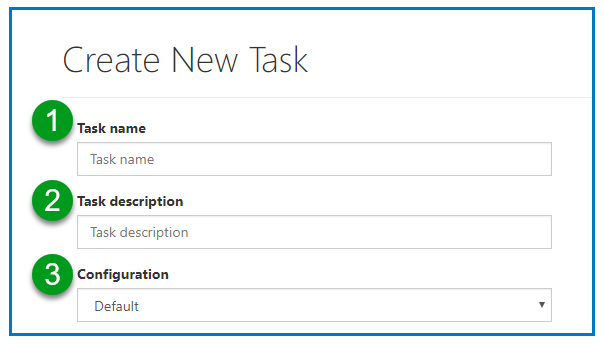
- Task Name. Choose a name for your task. It could just be the domain name or you could use the name to indicate a specific task’s setting, for example “(Domain Name) – Quarterly Scan.” (#1 in the screenshot below)
- Task description. (Optional) A small section for task notes. (#2 in the screenshot below)
- Configuration. “Default” will be the only option available unless you’ve created a custom configuration. (#3 in the screenshot below)
- Task Type. Choose from the following:
- Discovery then Verification: This is most likely the choice you want. CommonLook will search the domain for PDFs (Discovery) and then test them against the standards (Verification).
- Discovery: CommonLook will search for PDFs in the domain.
- Verification: CommonLook will only test the PDFs that have been found in previous scans.

- Discovery Task Type. Discovery finds HTML and PDF files. When Clarity locates a PDF, it is considered “Discovered.” When an HTML file is found it is considered to be “Known.” When Clarity then crawls through that HTML file and counts the links on that page, the links become “Known” and the page that has the links on it is considered “Discovered.” Consider this example: You define a domain with the root page http://somedomain.com/index.html. When you start Discovery, CommonLook will count the links in “index.html.” Say, then, that it finds 10 unique links to Page 1, Page 2, … Page 10. Pages 1 to 10 become “Known” pages, and “index.html” has been “Discovered.” CommonLook will then scan Page 1, looking for links on that page. Those found links become “Known” and when CommonLook is done scanning Page 1, it is considered “Discovered.” This process continues until all HTML files (links) have been Discovered.
- Full – A Full Discovery will start at the beginning and check the whole site.
- Resume – If you choose this option then, when you choose “Re-Run,” Clarity will check to see if there are any “Known” files (from the previous “Discovery”), will discover them (count their links), and try to discover any other HTML files linked to or from those pages. If the Discovery ended last time, meaning that all links have been followed until they didn’t go to any other files, then it won’t do anything. If a scan is stopped for some reason, Clarity will refer to scan information that is stored in the database from that last scan and allow you to pick up where you left off. Note: Only people who have access to the exact same Domain can resume a scan. Access may be limited by roles and/or sharing.

- Verification Task Type.
- Full: A Full Verification will test every PDF that has been discovered. If the PDFs have been tested before, the data from this scan will be added to the historical data for this scan.
- Incremental: Tip: This type of scan is faster than the “Full” verification!
An Incremental Verification will refer to information stored in the database from previous verifications and will only test the documents that are either new or have been changed since the last scan. For example, if a user runs a verification, finds a document that is not compliant, fixes that document, and then runs another verification, Clarity will pick up on the fact that the document has been changed and it will re-verify it. However, PDFs that are unchanged from a previous scan will not be re-verified.

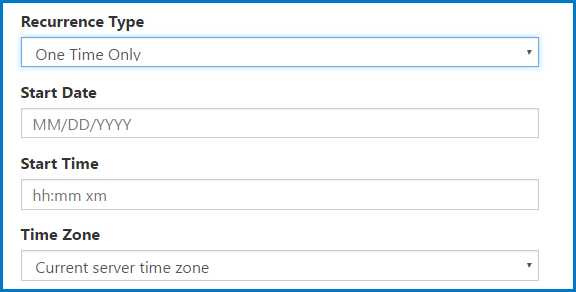
- Recurrence type. Options are:
- Run Immediately. It’ll start after you take care of the options in steps 8 and 9 and select “Create.”
- One Time Only. Provide the Start Date (in two digit month, two digit day, four digit year format), the Start Time (in two digit hour, two digit minute, am/pm format), and the Time Zone to use.
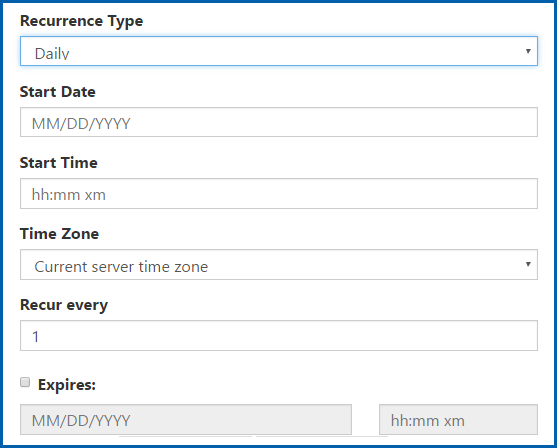
- Daily. In addition Start Date, Time, and Time Zone, you’ll also be asked: “Recur every” for how many subsequent days to scan OR you can check the “Expires” checkbox, enter a date and time, and have scans run daily until a specified expiration date.
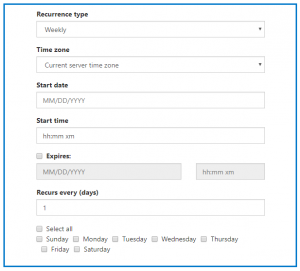
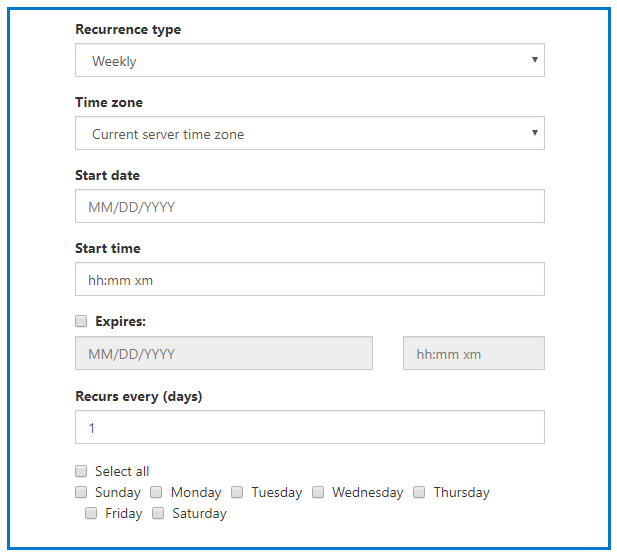
- Weekly. Input the Start Date, Start Time, and Time Zone (if the server hosting Clarity is in a different time zone). In the “Recurs every (days)” field, enter a number and then, below, choose the day(s) of the week. If you choose “2” and then “Tuesday,” for example, then Clarity will run the task every other Tuesday. You can use the checkbox “Select all” to choose all of the days of the week at once. Check the “Expires” checkbox and enter a date and time to have Clarity stop running the task at that future date.
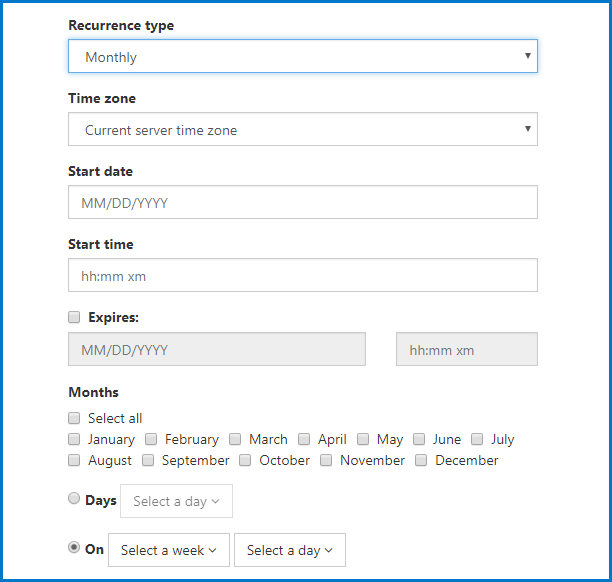
- Monthly. Input the Start Date, Start Time, and Time Zone (if the server hosting Clarity is in a different time zone). Also, choose which month(s) to run the scans. Use the “Select all” checkbox to choose all months at once. Select the radio button next to “Days” to select a particular day (or days) of the month to scan, OR choose the radio button next to “On” and then select from the “first,” “second,” “third,” “fourth,” or “last” and then (in the “Select a day” menu) choose the day as needed. (For example, to run scans on the third Tuesday of every month, choose “third” and then “Tuesday”). As with other recurring tasks, check the checkbox next to “Expires” to set an end date.

- Share With. Check the checkbox next to “Share with” and use the drop-down menus to share the task with other individual Clarity users or groups of users based on their role.
- Select the Domain(s). Use the checkbox(es) to select which Domain(s) are to be included in the newly created Task. Only the Domains that you have access to will be listed.
- Select “Create.”
Task Options
Once tasks have been created, they will be displayed in a table on the Tasks screen.
The column labeled “Task schedule information” provides information such as when that Task was created as well as scheduling information including, if it’s a recurring task, when it’ll be run again.
The column on the far right of that table is called “Task Options” and, in that column, there are buttons to check the Progress of a task, Manage Task Runs, Edit or Delete the tasks, or to run them again. These choices are explained in more detail below.
Progress – Use this button to check the progress of a task while it’s running.
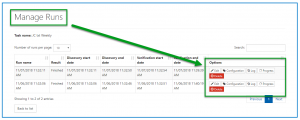
Manage Runs – After tasks have been run, use the Manage Runs button to go to the Manage Runs screen for a particular task. There, additional options include:
- Edit – Change a Run’s Name. Note: This is the Edit button within the Manage Runs options, not the Edit button in the Task Options column!
- View the run’s checkpoint Configuration – Open this to see the various standards, checkpoints, and checkpoint properties that were applied to this run.
- View an error Log – Warnings, errors, or any fixes that CommonLook may have had to apply in order to test the documents will be displayed here.
- Delete – Delete a run (or runs) from the task.

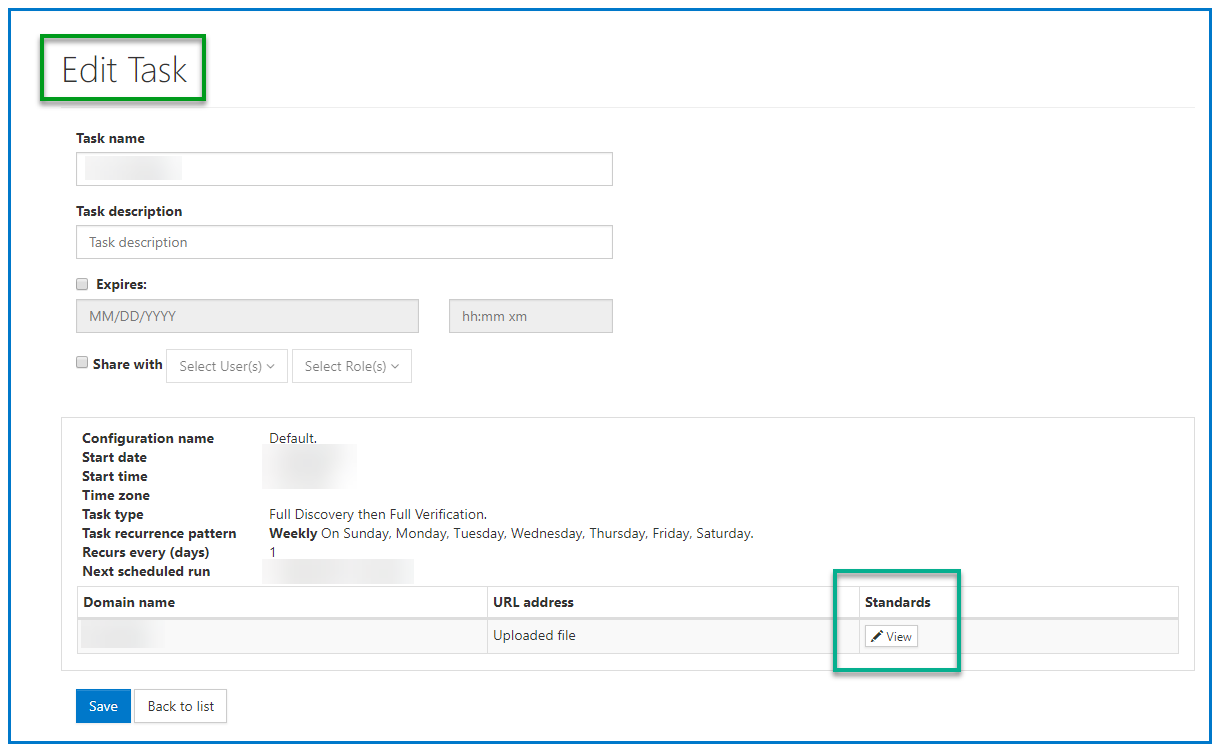
Edit – Change the name, description, expiration date/time (for scheduled scans), and who this task is shared with. In addition, use the button at the lower right corner of the screen to view the standards that are applicable to this task.
Delete the task. Note: This is different from deleting a Task Run (in the Manage Runs screen).
Cancel/Re-Run – Use the “Cancel” button when a task is running, to stop the task without deleting it. When a task is not actively running, select “Re-Run” to run the task again.
Next Step:
Create, view, and save Reports.